Showing posts with label fabric. Show all posts

Thursday, November 12, 2015

Quilted Fall Pumkin Table Runner

Hello Friends,

Welcome back. Glad to see you! Today I'm sharing a Quilted Fall Pumpkin Table Runner that was inspired by one I saw on Pinterest.  Quilting has been a hobby of mine for about 30 years now and a pumpkin table runner has been on my quilting To Do List for a few years.

One Saturday morning in late September my best friend Bonnie and I were having our weekly text chat over coffee when the subject of table runners came up once again. Every year we lament over the fact that we have not gotten our table runners done in time for Fall. But THIS year I had already decided it was a priority project to scratch off my TO DO list.  I had a plan in mind and was determined to make it happen.  Bonnie listened as I told her the plan, Step One: go to your fabric stash and pull out orange fabrics.

Text a photo when done.
 Fabrics pulled for project.  Step Two:  Do the math (yikes, I'm mathematically challenged) to determine block size according to table dimensions.


Step Three:  Cut squares according to the runner size determined by table size.
Send Photo.

Step Four: Sew pieces together.  Send Photo.


Step Five: Cut and arrange pieces for second pumpkin.  Sew and send Photo.

  And this is where I lost her.  Being determined  I pushed on over the next few days, adding hand drawn leaves and stem that were appliqued after the pumpkins were sewn into the background and a few thread squiggles for vines. Machine quilting and adding a orange stripe binding to finish off the project and FINALLY call it DONE!  


 Here you can see it on my dining room table.  I bought the wooden crate at Joann Fabrics and painted it with a metallic copper craft paint and added the faux red and green apples and a few faux fall leaves.

I'm so excited to finally cross off this long standing project on my To Do List!  Now, it's time to tackle a Christmas table runner....uh, maybe next year!

Happy Fall!
Bee Creative!
Suzy

Thursday, October 31, 2013

OVER THE BRIDGE AT ARTPRIZE

Hi Everyone!

Welcome back to the ARTPRIZE adventure!


Last week we were in downtown Grand Rapids, MI at ARTPRIZE, a month long international art competition displayed in venues within the city.

Today we are crossing the bridge to see what's on the other side.


Temperature was in the high 50's to lower 60 degrees, it was overcast with the threat of rain and the wind was blowing pretty hard as we crossed over the river, you can see the artful display of flags in the river were flapping  in the wind.


Crossing over and walking under the bridge to get to the Gerald R. Ford 


Presidential Museum, we saw Earth Giant by Benjamin Gazsi. Made from found natural materials within a grapevine and wire armature. He was massive in size, as was the crowd that wanted to view him!  It was tough to get a good angle on him with the crowds.  Won 6th place.


UP Lifting by Andy Sacksteder: A stunningly beautiful bronze sculpture water feature of Native Americans.  3rd prize winner! 


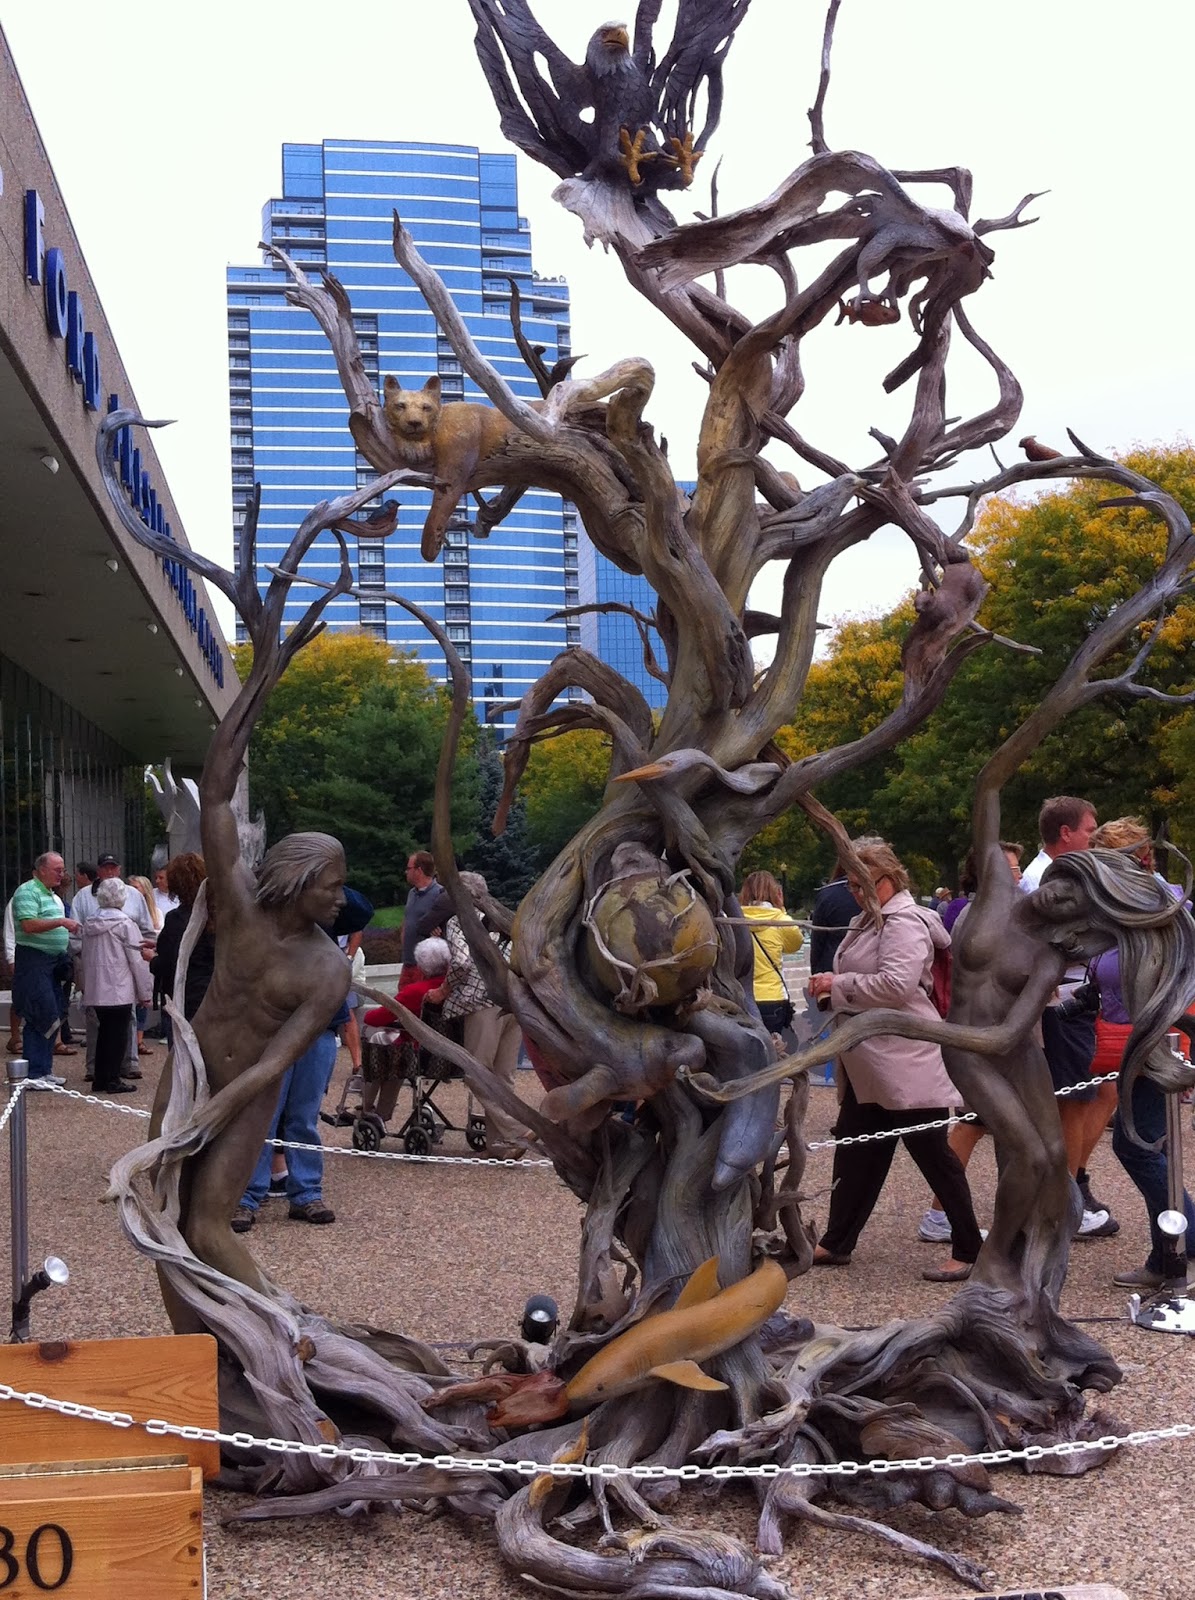
Dancing with Mother Nature by Paul Baliker a fourteen foot sculpture from cedar wood. Won 4th Place. 

Sleeping Bear Dune Lakeshore by Ann Loveless.  A four panel landscape art quilt using a collage of fabrics and machine applique.  Grand Prize Winner!!!


If you would like to see a complete listing and photos of the ART PRIZE winners work, please click HERE

Being a quilter myself I was delighted to see the landscape win the Grand Prize!  Was it my favorite?  Stay tuned for that answer......

Please join me again next Thursday and we travel back to town and visit the GRAM (Grand Rapids Art Museum) for more ART PRIZE and I'll reveal my favorite work of art.   
 

Tuesday, July 9, 2013

PLAYTIME SKETCHBOOK

Hi Everyone!

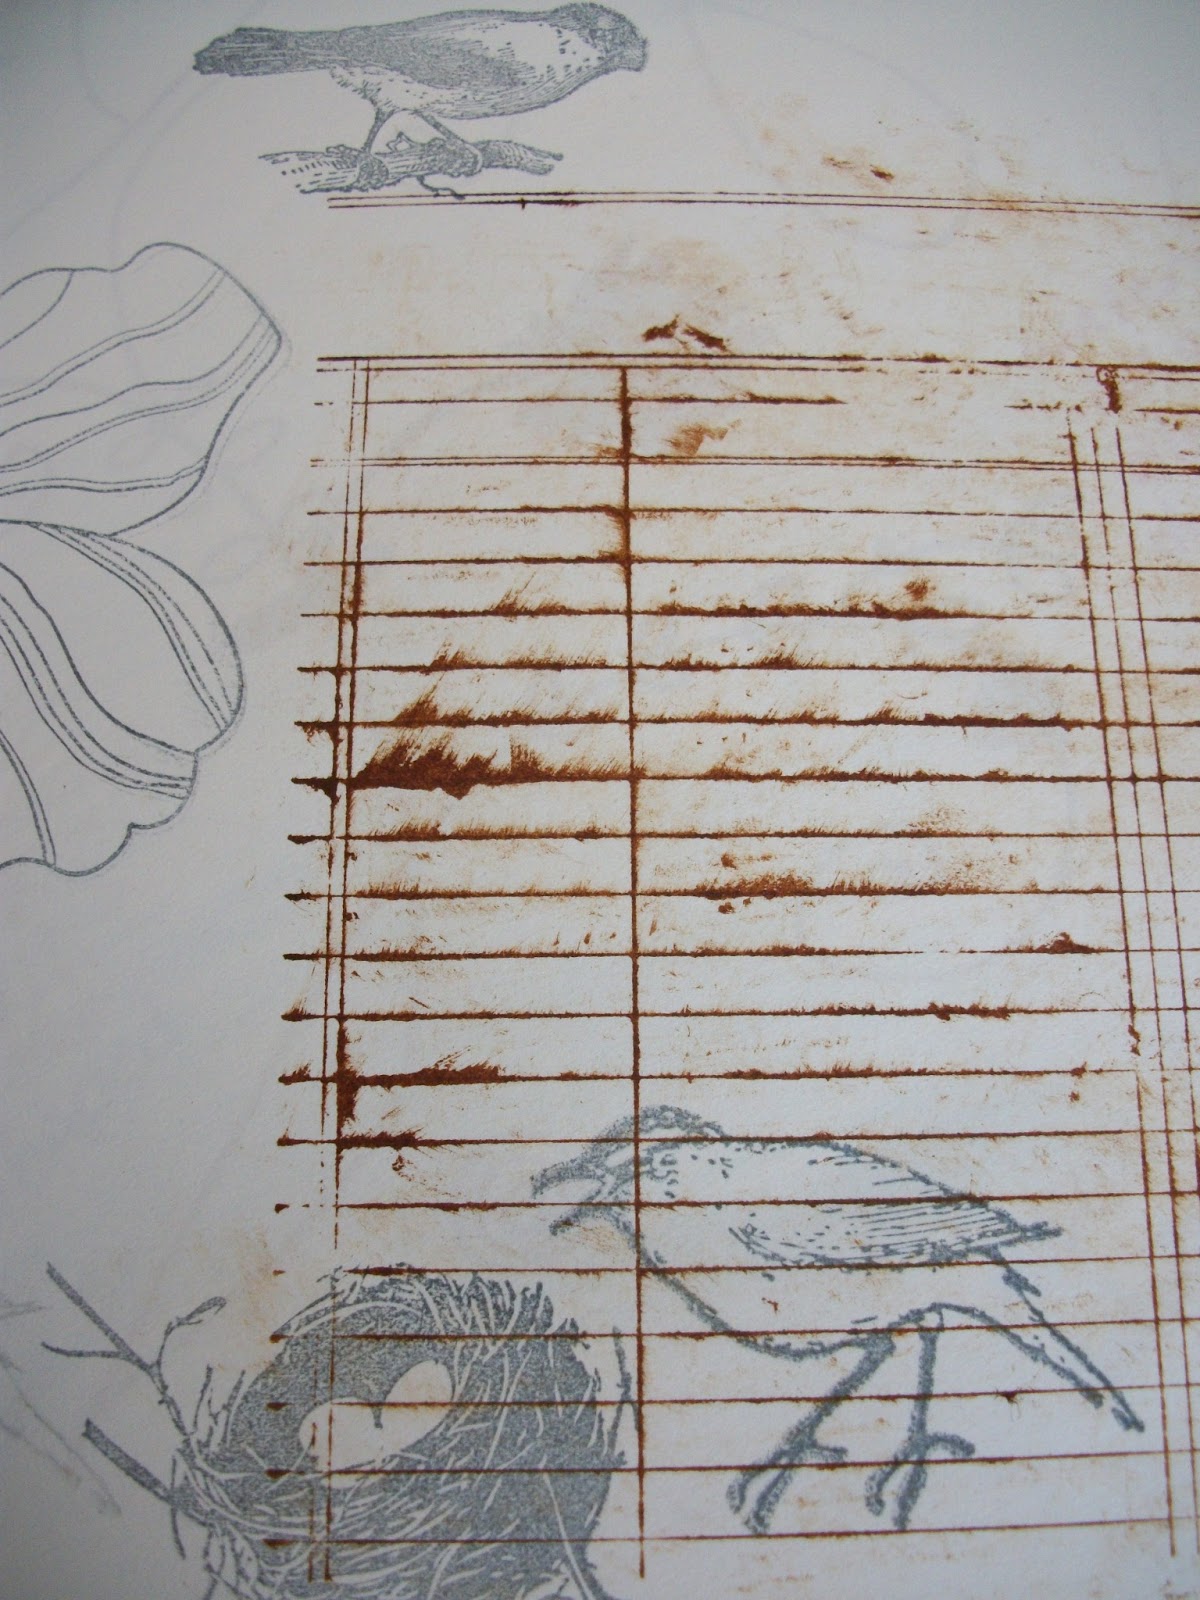
Nothing better than PLAY TIME in a sketchbook or journal!  I love to spend time with my glue stick, stamps and watercolors.  It is good to spend time creating without any purpose whatsoever! You never know where it will lead you creatively.  I don't feel the need to finish a page or make it pretty. In my sketch books and design journals you'll find lots of unfinished pages, some with stamping and nothing else. Like this page below created when trying out new stamps and deciding between black or brown ink. Personally I like the look of both on this page. 


Whenever I purchase a new stamp(s) I always try them out in a sketchbook first! Stamping the designs over and over again helps me visualize other ways in which they can be used. Using different color ways also is a wonderful way to see how color effects the design. I enjoy doodling around designs and writing any ideas down next to the stamped images. 


I use watercolor pencils, ink, craft paint, scribbles, crayons, etc. Nothing is off limits.  


Mixing stamps designs is fun! Here's a page where I was experimenting with houses, drawing trees, stamping with feathers and even a birdcage. Yep, I know it's upside down! Who knows what THAT'S about. 


Being a quilter, I love pattern and fabrics and they sneak their way into my sketch books too!  Here's a little pattern for a bug quilt I made for my great-nephew. The fabrics are glued into the book with a glue stick and the curly cue antenna was a practice applique piece cut out and glued on to the page.

As you can see, anything and everything goes into the design sketchbooks. I so enjoy looking through these pages and getting new ideas and using some of the old ones too! 

Hope you are having a wonderful week!  Go glue or stamp something in your sketchbook!  WHAT??? NO! You don't have a sketchbook?  Well head over to the nearest Joanne's or Michael's and pick out an inexpensive sketchbook! Get your glue stick out and glue down a random piece of fabric or paper, add color or a nice doodle....get started now! Have fun!

Happy stamping & glue sticking!
Suzy

Thursday, May 23, 2013

INSPIRATION COMES


Hi Everyone!

The “Design” notebook began when I wanted to replace mini blinds in the studio. 


With two windows in the room, there is a semi-need for privacy, especially with the window facing a neighbor and a partial view to the street. Researching Roman Shades on the Internet was slightly overwhelming, with SO MANY options for shades available. There are the How To's and Custom Made's and with each one you must chose style, colors and patterns, etc.  When I thought I might be at wits end, I came across appliqued pictorial landscape shades and the light bulb went off:   “hey, I thought, I’m a quilt maker why not make patchwork shades of my own”! I knew I'd never make the landscape appliqued shades (too much work, not enough time) but patchwork was certainly an doable option! Ok, with that decision made I can let it percolate in my brain for a bit, mentally working out patterns. A few days later, an email pops up from a quilt shop in the In Box offering a Kaffe Fassett Roman Road Quilt Kit. I'm a big fan of Kaffe Fassett, so I opened the email to see what was what.


 Ah ha, there was the idea for the “Roman” quilt pattern and the name (Roman Road/Roman Shade); well it was just meant to be!! Unfortunately, the cost of multiple (4 x $79.99) kits was more than I could afford for two windows. 

Still I loved the pattern Roman Roads and it just so happened to be the perfect piece of Kaffe Fassett fabric in my stash closet, just waiting for this occasion! Love when THAT happens! I worked out the color scheme, pattern and dimensions visually in the Design Notebook all centered around the Kaffe Fassett fabric!


Ta Da! Here's the Roman Road Quilt pattern (turned horizontally) on the side window facing my neighbor's house (it stays down for privacy). And the window facing the backyard stays up. See how the colors are illuminated when the sun shines in the morning? 


         In the afternoon, the larger shade lights up too! It is like having stained glass windows!  I fell in love with the Kaffe Fassett fabric!!!  
                        
                           I painted a page in my journal!


                          But that just wasn't enough.


                                  Totally inspired!


                       I painted the flower shapes three times!                               


Three years later, I still love the Roman Road shades and these paintings inspired by Kaffe Fassett fabric!

Look around to see what inspires you today! 

Bee Happy! Bee Creative!! Have Fun! 

Suzy 

Linking to: Paint Party Friday, Sew Many Ways;Crafty Thursday Obsessions

Monday, May 7, 2012

Basket Make Over

Hello Everyone!


I'm pretty excited today to reveal the Basket Make Over I posted about finding at the thrift store. Originally the basket was pink and cream on the outside and blue gingham check on the inside. The lining was pretty stained and beat up but the price was good so I figured it could be revamped with a new lining and be put to use as storage in the studio.  So without further ado, here is the newly re-made basket! 


And with a little new fabric from Swell by Urban Chicks for Moda, we have a new look!  I sewed the lining and added a pleated ruffle and used red binding tape to finish the edges. There was a slight error on my measurements so I just came back in with some more dotted fabric above the red binding. Everything was hot glued into place.  


This is the lid area where I used red craft felt and a piece of snap tape to finish off the edges. The corners are faux mitered due to the challenges of using a HOT glue gun in a tight space. To faux miter the corners I laid down strips of tape on each short side corner to corner, on the long sides I folded the corners to make a mock miter. 


I rather liked the outside of the basket in its cream and pink and so I chose to just enhance the pink a bit with a my dressmakers chalk. I found it by accident in my sewing drawer when I was looking for something to mark the felt. Who knew it was almost a match for the pink already on the basket! I rub it on the ridges and then sprayed a light coat of clear spray over it to keep the chalk from rubbing off.  


Keep your eyes peeled for old baskets at thrift stores and garage sales, they are easily transformed into great storage pieces!  


Happy Crafting! 


Linking to Sew Many Ways http://www.sewmanyways.blogspot.comhttp://boogieboardcottage.blogspot.com/

Tuesday, April 10, 2012

Found Basket...Now what?

Hello Everyone! 
Found this basket at Goodwill, $1.99. Now that is a bargain anyone would have trouble passing up, right?  Love that it has a blush of pink on the outside.  


The blue and white gingham check lining was filthy. I ripped it out, but kept the pieces to make another pattern. 


Now what? Still waiting on an idea to come to me. 
Yes, it definitely needs to be relined with a more feminine fabric to go with the pink, perhaps even something as simple as muslin would look lovely?  Eventually this basket will find a home on a shelf in the studio and be designated for storing craft items. I'll keep you posted.....meanwhile if you have any ideas, send them my way!  

Hope you are having a wonderful day today!