Showing posts with label Quilting. Show all posts

Thursday, November 12, 2015

Quilted Fall Pumkin Table Runner

Hello Friends,

Welcome back. Glad to see you! Today I'm sharing a Quilted Fall Pumpkin Table Runner that was inspired by one I saw on Pinterest.  Quilting has been a hobby of mine for about 30 years now and a pumpkin table runner has been on my quilting To Do List for a few years.

One Saturday morning in late September my best friend Bonnie and I were having our weekly text chat over coffee when the subject of table runners came up once again. Every year we lament over the fact that we have not gotten our table runners done in time for Fall. But THIS year I had already decided it was a priority project to scratch off my TO DO list.  I had a plan in mind and was determined to make it happen.  Bonnie listened as I told her the plan, Step One: go to your fabric stash and pull out orange fabrics.

Text a photo when done.
 Fabrics pulled for project.  Step Two:  Do the math (yikes, I'm mathematically challenged) to determine block size according to table dimensions.


Step Three:  Cut squares according to the runner size determined by table size.
Send Photo.

Step Four: Sew pieces together.  Send Photo.


Step Five: Cut and arrange pieces for second pumpkin.  Sew and send Photo.

  And this is where I lost her.  Being determined  I pushed on over the next few days, adding hand drawn leaves and stem that were appliqued after the pumpkins were sewn into the background and a few thread squiggles for vines. Machine quilting and adding a orange stripe binding to finish off the project and FINALLY call it DONE!  


 Here you can see it on my dining room table.  I bought the wooden crate at Joann Fabrics and painted it with a metallic copper craft paint and added the faux red and green apples and a few faux fall leaves.

I'm so excited to finally cross off this long standing project on my To Do List!  Now, it's time to tackle a Christmas table runner....uh, maybe next year!

Happy Fall!
Bee Creative!
Suzy

Thursday, August 28, 2014

Eating an Elephant

Hi Everyone!

Have you heard that joke about How do you eat an Elephant?

Click to viewAnswer: One bite at a time.


 Well I am eating my elephant  er, quilting my quilt, one bite stitch at a time.  It does seem like an elephant, it is an enormous quilt!  It's been years since I have attempted to hand quilt anything and now I find myself with needle and thread in hand. It is so ridiculous to even THINK about this gigantic task before me, hence the elephant joke.  I hope you don't think that is in poor taste. 


Do you have a few spare minutes? I'll tell you the story of the gigantic quilt.  It all started about 19 years ago <cringe> on Labor Day weekend when my BFF came down for her first visit to our new home in south FL.  We had just moved here in June and I was SO excited to have my friend come for the long weekend and to start this new quilt project (back then we were both into quilting BIG time). We cut and we sewed and we put together blocks all weekend, and almost had the queen-sized top completed.  Eventually she went home and I continued to work to finish the blocks needed to finish the project.  

Fast forward another eight years.....My daughter has bought her very first home and I'm thinking I'll make her a quilt as a housewarming present when I stumble across the quilt in the closet and asked her if she might like it.  She loves the colors and we measure her bed, I add more blocks to increase the size. Then she gets a new bed and it is higher and the quilt needs borders and she asks if could I incorporate some brown into it??  LOL!   Oh sure, I add the borders (and brown fabric as requested) and then.......

Fast forward another two years.....daughter is in Texas now and tells me she would really like her quilt. It's become the "housewarming" joke between us. Meanwhile I get the quilt layered to be quilted and it is gigantic and there's NO WAY it is going to fit in my sewing machine to be quilted.  So, I think it went back into the closet while I tried to think of a way to afford to have it professionally quilted. 

Fast forward three years......daughter is married, has a baby and lives in Michigan.  Okay, time to get serious about that quilt, because it is FREEZING cold in Michigan and she is a FLORIDA girl.  Finally, I get the bright idea to ask two ladies from the quilter's group at church if they might like to take on the project of machine quilting it.  They were willing and took the quilt to see if they could find a quilting machine that they could quilt it on. That was 6 months ago. Just the other day they told me the quilt was TOO BIG to go on their friends machine.  Back to square one and time to eat humble pie......

That brings me to the needle in hand and the realization that it's been 20 years since I've quilted by hand and I'm sorely out of practice!

I'd forgotten how to tie a quilter's knot and my stitches look more like Morse Code, (dot, dot, dash). 


Rather than the 12 stitches to an inch I used to quilt, it is more like 6 stitches to an inch (being generous) and they are rather wobbly like a drunkards path. It is a humbling experience (one deserved) after all these years. 


 But I'm getting the hang of hand quilting again and trying not to think too much about how gigantic a project this really is. 

She's waited this long......what's another 6 months to a year?  

You'll have to excuse me now......I have an elephant I need to eat.    

Say, where did I put my fork???


Bee Creative!

Suzy


Tuesday, July 9, 2013

PLAYTIME SKETCHBOOK

Hi Everyone!

Nothing better than PLAY TIME in a sketchbook or journal!  I love to spend time with my glue stick, stamps and watercolors.  It is good to spend time creating without any purpose whatsoever! You never know where it will lead you creatively.  I don't feel the need to finish a page or make it pretty. In my sketch books and design journals you'll find lots of unfinished pages, some with stamping and nothing else. Like this page below created when trying out new stamps and deciding between black or brown ink. Personally I like the look of both on this page. 


Whenever I purchase a new stamp(s) I always try them out in a sketchbook first! Stamping the designs over and over again helps me visualize other ways in which they can be used. Using different color ways also is a wonderful way to see how color effects the design. I enjoy doodling around designs and writing any ideas down next to the stamped images. 


I use watercolor pencils, ink, craft paint, scribbles, crayons, etc. Nothing is off limits.  


Mixing stamps designs is fun! Here's a page where I was experimenting with houses, drawing trees, stamping with feathers and even a birdcage. Yep, I know it's upside down! Who knows what THAT'S about. 


Being a quilter, I love pattern and fabrics and they sneak their way into my sketch books too!  Here's a little pattern for a bug quilt I made for my great-nephew. The fabrics are glued into the book with a glue stick and the curly cue antenna was a practice applique piece cut out and glued on to the page.

As you can see, anything and everything goes into the design sketchbooks. I so enjoy looking through these pages and getting new ideas and using some of the old ones too! 

Hope you are having a wonderful week!  Go glue or stamp something in your sketchbook!  WHAT??? NO! You don't have a sketchbook?  Well head over to the nearest Joanne's or Michael's and pick out an inexpensive sketchbook! Get your glue stick out and glue down a random piece of fabric or paper, add color or a nice doodle....get started now! Have fun!

Happy stamping & glue sticking!
Suzy

Thursday, May 23, 2013

INSPIRATION COMES


Hi Everyone!

The “Design” notebook began when I wanted to replace mini blinds in the studio. 


With two windows in the room, there is a semi-need for privacy, especially with the window facing a neighbor and a partial view to the street. Researching Roman Shades on the Internet was slightly overwhelming, with SO MANY options for shades available. There are the How To's and Custom Made's and with each one you must chose style, colors and patterns, etc.  When I thought I might be at wits end, I came across appliqued pictorial landscape shades and the light bulb went off:   “hey, I thought, I’m a quilt maker why not make patchwork shades of my own”! I knew I'd never make the landscape appliqued shades (too much work, not enough time) but patchwork was certainly an doable option! Ok, with that decision made I can let it percolate in my brain for a bit, mentally working out patterns. A few days later, an email pops up from a quilt shop in the In Box offering a Kaffe Fassett Roman Road Quilt Kit. I'm a big fan of Kaffe Fassett, so I opened the email to see what was what.


 Ah ha, there was the idea for the “Roman” quilt pattern and the name (Roman Road/Roman Shade); well it was just meant to be!! Unfortunately, the cost of multiple (4 x $79.99) kits was more than I could afford for two windows. 

Still I loved the pattern Roman Roads and it just so happened to be the perfect piece of Kaffe Fassett fabric in my stash closet, just waiting for this occasion! Love when THAT happens! I worked out the color scheme, pattern and dimensions visually in the Design Notebook all centered around the Kaffe Fassett fabric!


Ta Da! Here's the Roman Road Quilt pattern (turned horizontally) on the side window facing my neighbor's house (it stays down for privacy). And the window facing the backyard stays up. See how the colors are illuminated when the sun shines in the morning? 


         In the afternoon, the larger shade lights up too! It is like having stained glass windows!  I fell in love with the Kaffe Fassett fabric!!!  
                        
                           I painted a page in my journal!


                          But that just wasn't enough.


                                  Totally inspired!


                       I painted the flower shapes three times!                               


Three years later, I still love the Roman Road shades and these paintings inspired by Kaffe Fassett fabric!

Look around to see what inspires you today! 

Bee Happy! Bee Creative!! Have Fun! 

Suzy 

Linking to: Paint Party Friday, Sew Many Ways;Crafty Thursday Obsessions

Tuesday, May 21, 2013

THE NOTEBOOKS

Hi Everyone!

I've ALWAYS been a bit of a note book lover and journal geek. Love, love, love a brand new journal to sketch, draw and to junk up with paint and little tidbits of memorabilia. I have lots of different types of notebooks/journals and today I'm going to share a few with you.

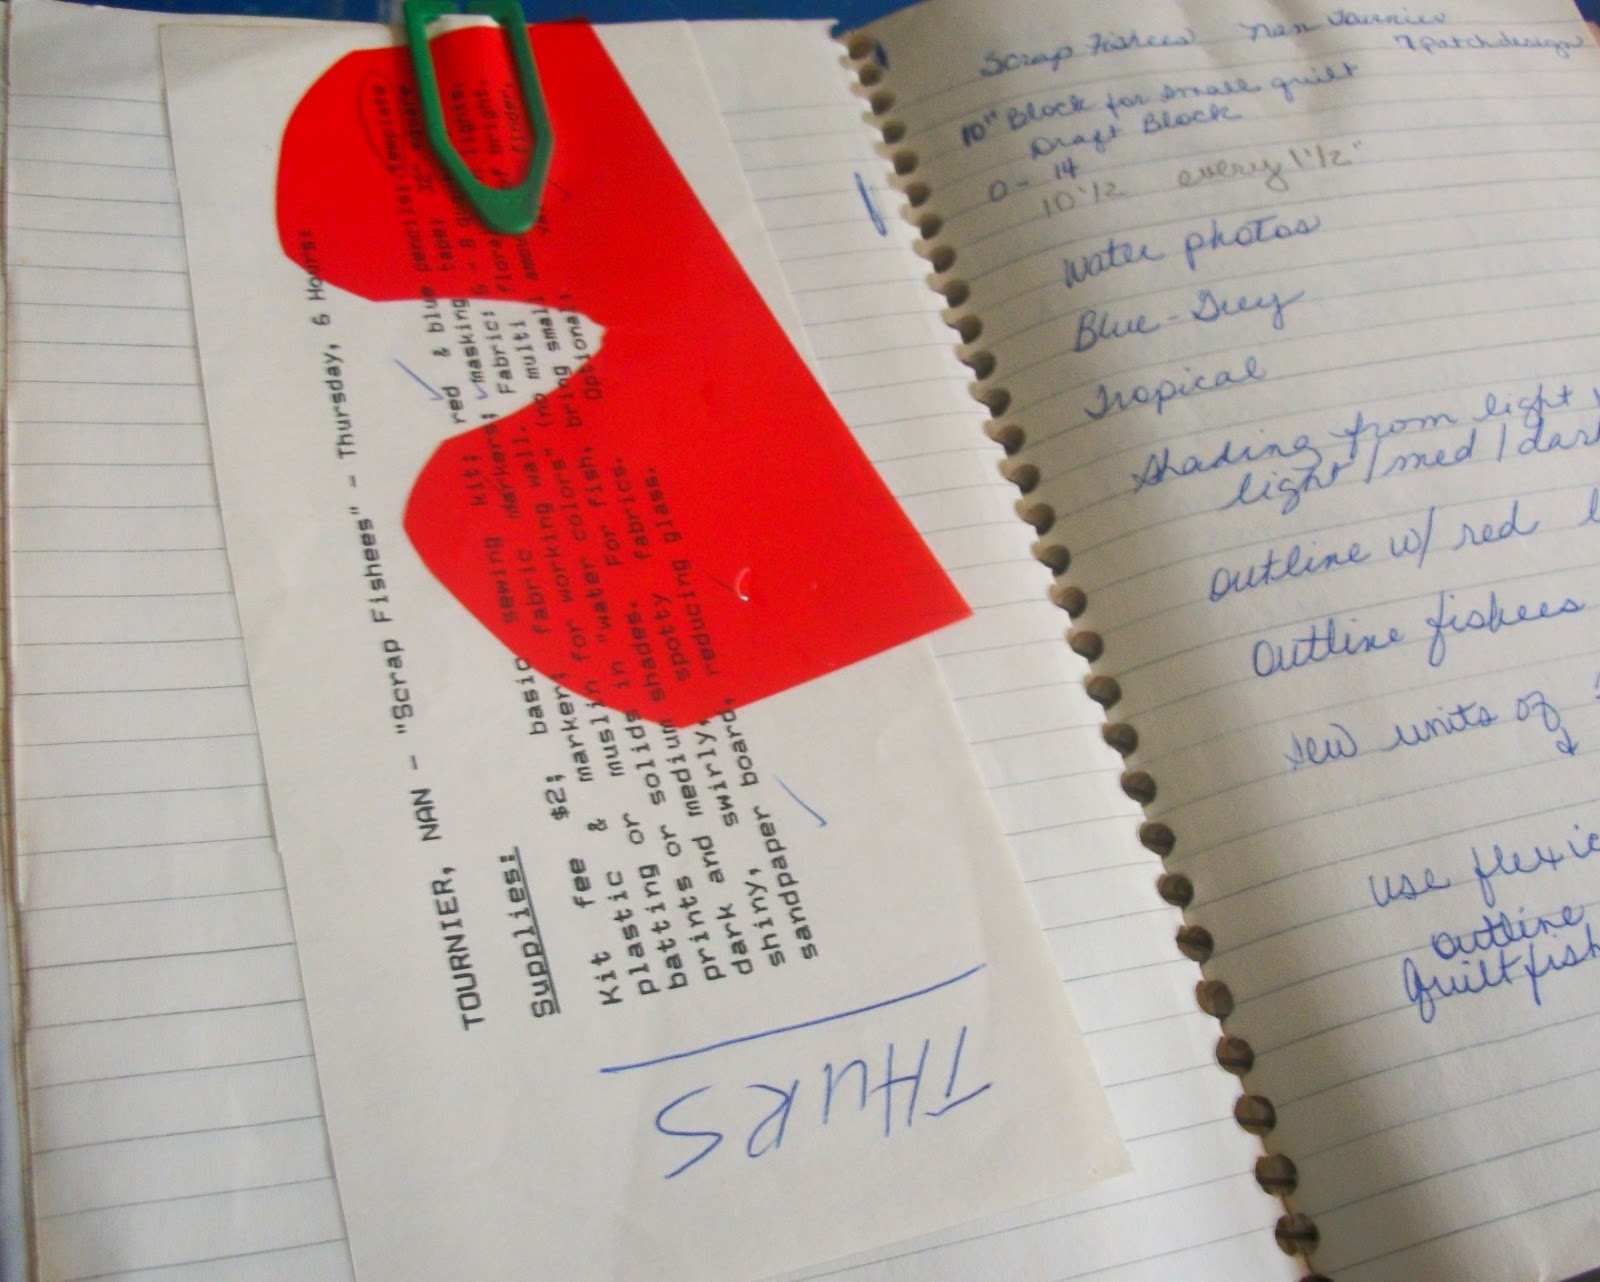
My obsession started  innocently with a little green spiral bound book that went with me to a 3 day Quilting symposium the 80's, it spans over a decade of quilting classes and symposiums. A true treasure. 


 I jotted class notes and little tidbits down, diagrams and supply lists:


Attached a few samples I made in class:


Wore these goofy looking glasses in one class:


Next came the Beading classes and another "note" book was born, this book contains diagrams, notes and ideas for future bead works. 


"Design" is a notebook filled with lots of inspiration. Can you see that I graduated to a larger spiral bound notebook??


It started when I was thinking about making a Roman Shade for my studio.  Will tell you the whole story in my next post on Thursday. Promise. 

Come join me.

Bee Creative! Bee Happy! 

Suzy


Monday, February 18, 2013

ON A ROLL WITH CHINESE COIN QUILTS

Hello Everyone! 

     In my last post I was headed North to visit with and celebrate my best friend's 65th birthday. We have so many interests in common it is hard to narrow down the craft supplies and show-n-tell (as every quilter knows, there always MUST be a show-n-tell) plus we have birthday and Christmas gifts to exchange and the packing list grows larger and larger.  My DH watches as I bring out the last of the bags/boxes, luggage and finally a sewing machine and he comments something like " I thought you were going for a weekend, not moving out!"  Haha, but seriously, the trunk of my car was FULL!  Well, we DID plan to work on a quilt project, hence the sewing machine (I don't know about you, but I don't feel comfortable sewing on someone else's machine). 

     Last time we were together we each started cutting strips for a black and white Chinese Coins quilt. The Chinese Coin quilt is pretty easy to make and doesn't require much concentration, so we can yak and sew and accomplish our goal for the weekend. If you haven't ever made one of these simple strip style quilts go check out the how to here.  My DH loves the one I made for him (photo), it was so easy! 
Chinese Coins made for hubby
     If you like scrap quilts this is a perfect pattern to use up a variety of patterns and colors and it makes a stunning quilt. I even used Chinese Coins to update a rather plain pillow by sewing on a strip of color! 


Update a pillow with Chinese Coins pattern
    As you imagine the variations on this theme are endless. We once had a quilt gathering where each member was asked to bring 20 strips of cotton fabrics cut into 2.5" x 44" strips (across fabric width=44") to share with others plus 1.5-2.5 yds of fabric (we suggested a multi-colored print,or solid or muslin) to use as a background to their strips.  We tossed the strips into a paper bag and had each participant pull out 20 random strips (no peeking!). They were instructed to sew the 20 strips into sets of two, then sew them into groups of four, etc. to form long strips. The strips can be cut in half and turned to create more variety in the assembly process. After strips are sewn into long rows then the background fabric can be cut into dividing strips and sewn to each pieced section. It is so much fun to see how the quilt tops turn out and sharing with your quilt buddies is the best! Have fun!! 

     I love the mixed up craziness of randomly putting two prints together but with the black and white fabrics it is easy to fall into sewing them into b+w over and over again and then you get a bit of a jailbird look. SO, I broke the rule of B&W and added in some cream and gray. One of my favorite fabrics is an oriental print with a touch of red so I am also adding a red & black print just for a bit of variation and pizzazz.  Well, it is my quilt after all and I am allowed to make it the way I like....lol!  My BFF gave up on the B&W and spent her time cutting fabrics for an Envelope quilt for her newly painted and decorated bedroom! I'll share that pattern information with you next time, it is a favorite pattern that makes a beautiful scrappy quilt. 


    I don't know when the Chinese Coins quilt top will get done, it may take me several more girlfriend trips but eventually I will get the pieces together and a quilt will be born.  Speaking of being born, my grandson is due shortly and I'll be making a quilt for him and taking it to Texas to welcome him into the world! I've ordered fabrics online from www.fabric.com. ( I love being able to play with the fabrics on their design board before making a purchase)! Can you guess what pattern I'll be using to make the baby's quilt? 

    There's never enough time to spend with my BFF! We had such a great time together! I hope you will check back soon to see the progress on the two quilts. Until then, keep sewing and creating! 

Bee Creative,
Suzy 


Linking to: SEW MANY WAYS ; CLUCK CLUCK SEW